DIY Christmas Presents
December 19, 2016
Christmas is a time for giving and family. But sometimes buying gifts for your relatives can become expensive. This holiday season save your wallet and put the most creative gifts under the tree with these do-it-yourself gifts your family will actually want to receive.
Hand warmers
Supplies: Whatever fabric you have in your house, scissors, pinking shears (optional), sewing machine or needle, long pins, rice, and thread.
- Using scissors, cut two and 3/4 inch squares from your fabric. You will need two per hand warmer.
- Place the two squares of fabric sides together and stitch a 1/4 inch seam around the outside, leaving a 1-1/2 inch opening.
- Fill 3/4 of the way up with rice.
- Using a long pin, block the rice from falling out of the opening and sew closed.
- To use, warm up in the microwave for 20 seconds or so, but make sure they aren’t too hot when you take them out!
Customized Mug
Supplies: Any ceramic mug (preferably white), Sharpies
- Find a white ceramic mug or cup.
- Pick a Sharpie. For long-lasting results, choose oil-based paint Sharpie markers. Regular Sharpie ink can come off even after baking. Pick colors to use on your mug. You can also stay simple and choose one color.
- Start drawing. Decide what you want to put on the cup, and practice drawing it on a piece of paper before drawing on the mug.
- Dry it out. Let your mug dry for a few hours or overnight before placing it into the oven.
- Bake the mug in the oven for 30 minutes at 350°F. It is important to place the mug in the oven before it heats up and leave it in until the oven cools completely so there won’t be any cracks. You can bake the mugs twice to really set in the Sharpie drawings.
- Care and wash: Hand-wash the mug gently instead of throwing it in the dishwasher, as a machine washer may ruin the design.
Homemade cards
Supplies: Blank Cards, Paints, Stickers, Pictures, anything you want to decorate the cards with.
- Choose a blank card or piece of paper for your base.
- Choose layering pieces to add to the top of your card. Try to add something personal to the person you are giving your cards to, like a picture, or things that would remind them of a memory together.
- Add splashes of color, and bring the final piece together.
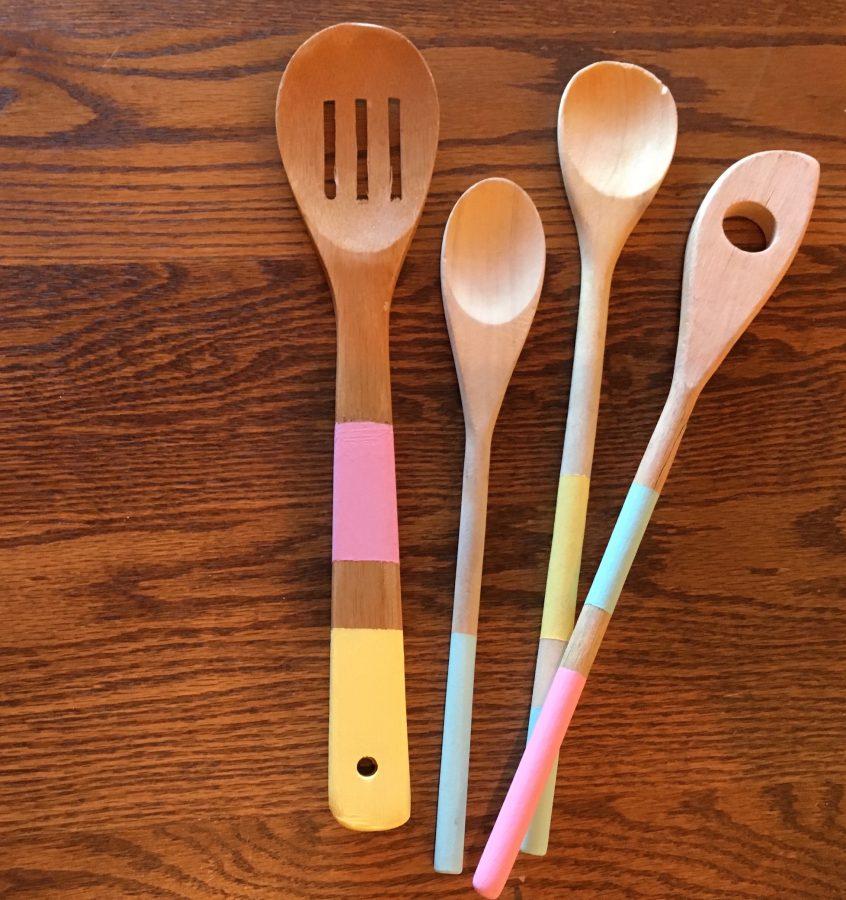
Custom Kitchen Utensils
Supplies: Wooden Utensils, Craft Paint, Painter’s Tape, Paint Brush,
- Starting from the top of the handle, measure down five inches. Make a tiny mark with a pencil. Place the top of your painter’s tape on the mark.
- Using your chosen paint colors, apply the paint to each utensil handle. Apply the paint by brushing away from the painter’s tape to avoid paint getting underneath the tape.
Tip: Use a baking rack to place the utensils on while they dried. This allows you to paint both sides at once and for a quicker drying time.